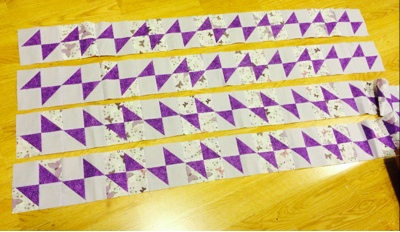
This quilt is so heavy! And big!

Here's my little handsome munchkin! Isn't he getting so big?!!! I can't believe he's 20 months old! He's a little climber, a cuddler, and into everything! Yes, he climbed into the table and onto the quilt. He thinks it's fun to climb in mama's lap and "help" by pushing all the button settings. Hence, I put the hard machine cover over the top of the machine, when I'm finished or ready to step away.

Ha, this is the other night...I ran out of thread, just as I finished that red background triangle. That is the edge of the center block!
It doesn't feel like I'm making progress, but if I've finished another spool, that proves progress, right?!!!!!
Tonight, I'll do a bit more, then pull the quilt flat to see if I missed any background sections yet.
I'm also finishing up the hot glue on my design walls. Hubby is on shift, and my goal is to get them finished before he gets off. That way, they will be ready to hang when he gets home. He actually bought the wall hooks, months ago! He's picky about wall mounts and scews, and using the drill. And he'll actually need to measure some.

What I used:
--2 Fons and Porter Design Walls (basically felt-covered vinyl sheets with a 2" printed grid"
--2 cardboard cutting boards
--plenty of office staples and a standard stapler
--duct tape
--hot glue
First I measured and stapled the Design Walls to the top of the cutting boards, deciding where I wanted the hanging grommets. Then, I stapled along that top edge, and started down one side. Then I moved from the grommets and followed along the opposite side, pulling the vinyl slightly taut against the cardboard and stapling. I did need to trim the vinyl because it was too wide for the boards. I made sure to bend the staple points to lay flat on the back side. Then I covered all the raw edges with duct tape, especially where the staples were...one, to cover the staple backs and prevent the staples from snagging, and two, to create a nicer visual edge. After I worked on the first, I've noticed that the duct tape kept curling away from the felt...not creating a nice stick. I tried Tacky Glue, then tried hot glue. I like the hot glue for bonding the tape into the felt fibers.
Wa-la ! Two design boards that I can hang on a wall. Each a little more than 36" wide and about 72" long. Stiff, lightweight, foldable, portable. I can taken them down to take to a class, or take a project with me, or hang them on a different wall. Or even lay them on the floor and cut big pieces of batting off the roll, or measure backing.